I left you all last post with us amid-framing. Here's the rest of the timber cutting and bashing story.
Whilst settling in to primitive life in the shouse, we still found a few
hours every day to continue on with the big house. Because Sol had been
so kind as to lend us his tools of trade while he XMAS-ed and
holidayed, I was keen to make as much use of the compressor / air
nailers arrangement as possible. So, we plodded ahead, adding a few
lengths of 4-by-2 or sheets of ply every day.
 |
| filling the gaps |
 |
| keeping those conduits out of the way |
Looking back over the photos to write this, I am overwhelmed by how much we have achieved. Each section and each detail was measured, planned out (i.e. drawn up to make sure of how it goes together), cut, assembled on the ground, installed and fixed in for good (once we were sure that it was level / plumb / etc!). Some were a little too tight and had to be trimmed or planed down but most either popped in or were 'persuaded' with a few taps of the eccy-thump machine (rubber mallet). Here are some progress shots as we went.
 |
| solid buckeroonies |
 |
| chunky... |
 |
| ...and strong |
A few times, we came to a impasse where I could only continue on my own so, in between times, Dana got to making us a letter box. We designed it in the shape of the house and it came out pretty darn good. We planted it at the front gate and then found out that the mail delivery contractors wanted it at the end of the street, so Dana uprooted it and stuck it on with all the other home made letter boxes on the street corner.
 |
| looks just like our house... |
 |
| ...except raised on a pole! |
My brother Nick and his family popped by and gave me a hand for a few days while Dana worked back in town. We got the first lintels made and installed and I did some precision carpentry to finish off Dana's study. A few more weeks of slowly but surely went by and then Sol called up for his tools. We cleaned them up and dropped them back and I got him to convince my dearest that it was indeed worth investing in the same. A bit of Trading Post and Tag Trader time later, I had a twin cylinder compressor, a Paslode 5000 series frame nailer, 20m of hose and about 2500 collated nails (all for well less than half new price!).
 |
| lintels by Nobbie, exquisite framing by me...:) |
 |
| more Nobbie lintels |
 |
| now with ply bracing |
 |
| it makes noise and it blows air |
 |
| yay for Paslode... |
So I used these new toys (oops, I mean well loved second hand tools..:)) to clean things up a bit and build a bench for the 50 million boxes of hardware and hand tools that had been gracing the laundry stem wall (before I had to install the bottom boxing). Unlike much of my life, I like a clean, well ordered site - you can find what ever you need in a moment. Perhaps there is a bit of the old man in me...
 |
| so neat |
 |
| engineer's son anyone??? |
Another cool side project that Dana got on to was the creation of a rodent proof cupboard. We'd been getting sick of the little buggers eating through plastic to get at our food and thought that a chunky timber unit would solve this.
 |
| no more Rattus |
 |
| I'm proud of this now hidden multiple compound mitre / bevel. Sitting inside the bathroom wall now - it fitted so perfectly. |
More assistance came in the form of Biggsy on holiday for a few days. With many years of site experience, he came in more than handy. I just had to say "I need that bit there and built like so" and it would happen. Nice. Even better were some strong muscles to help lift the mega-lintels into place.
 |
| are you sure it's level? |
 |
| flying the big boy |
 |
| now docked for good |
 |
| me team at work |
Over the next few weeks I kept plugging away at it bit by bit, taking the time to both do it right and not trash my back again. This meant building in one-person-manageable sections and piecing it all together in-situ.
 |
| piece by... |
 |
| ...piece by... |
 |
| ...piece, it all... |
 |
| ...came together... |
 |
| ...just nicely |
The kitchen walls took a bit of beard stroking and head scratching to work out but the end result is primo. I'd put aside a couple of studs that were bowed enough to follow the profile of the rafter pretty snuggly. I had to clamp these to the rafter to get true measurements for the studs and then pre-build sections that still allowed drill access to screw studs to SHS poles. Speaking of which, I could swear that the steel in those posts has got harder over time. So hard that (after one too many broken drill bits and some real swearing!) we gave in and hired a magnetic clamp-on drill press for a day. This chunky beastie chewed holes in our steel like a hot knife in butter. Smiles duly followed.
 |
| bed wall |
 |
| installed |
 |
| kitchen part 1 |
 |
| and the trickiest bit |
Another day and the kitchen wall was schmicko. As soon as I'd tightened down the last bolt, I gave the frame a tap with the hammer and it sang to me...
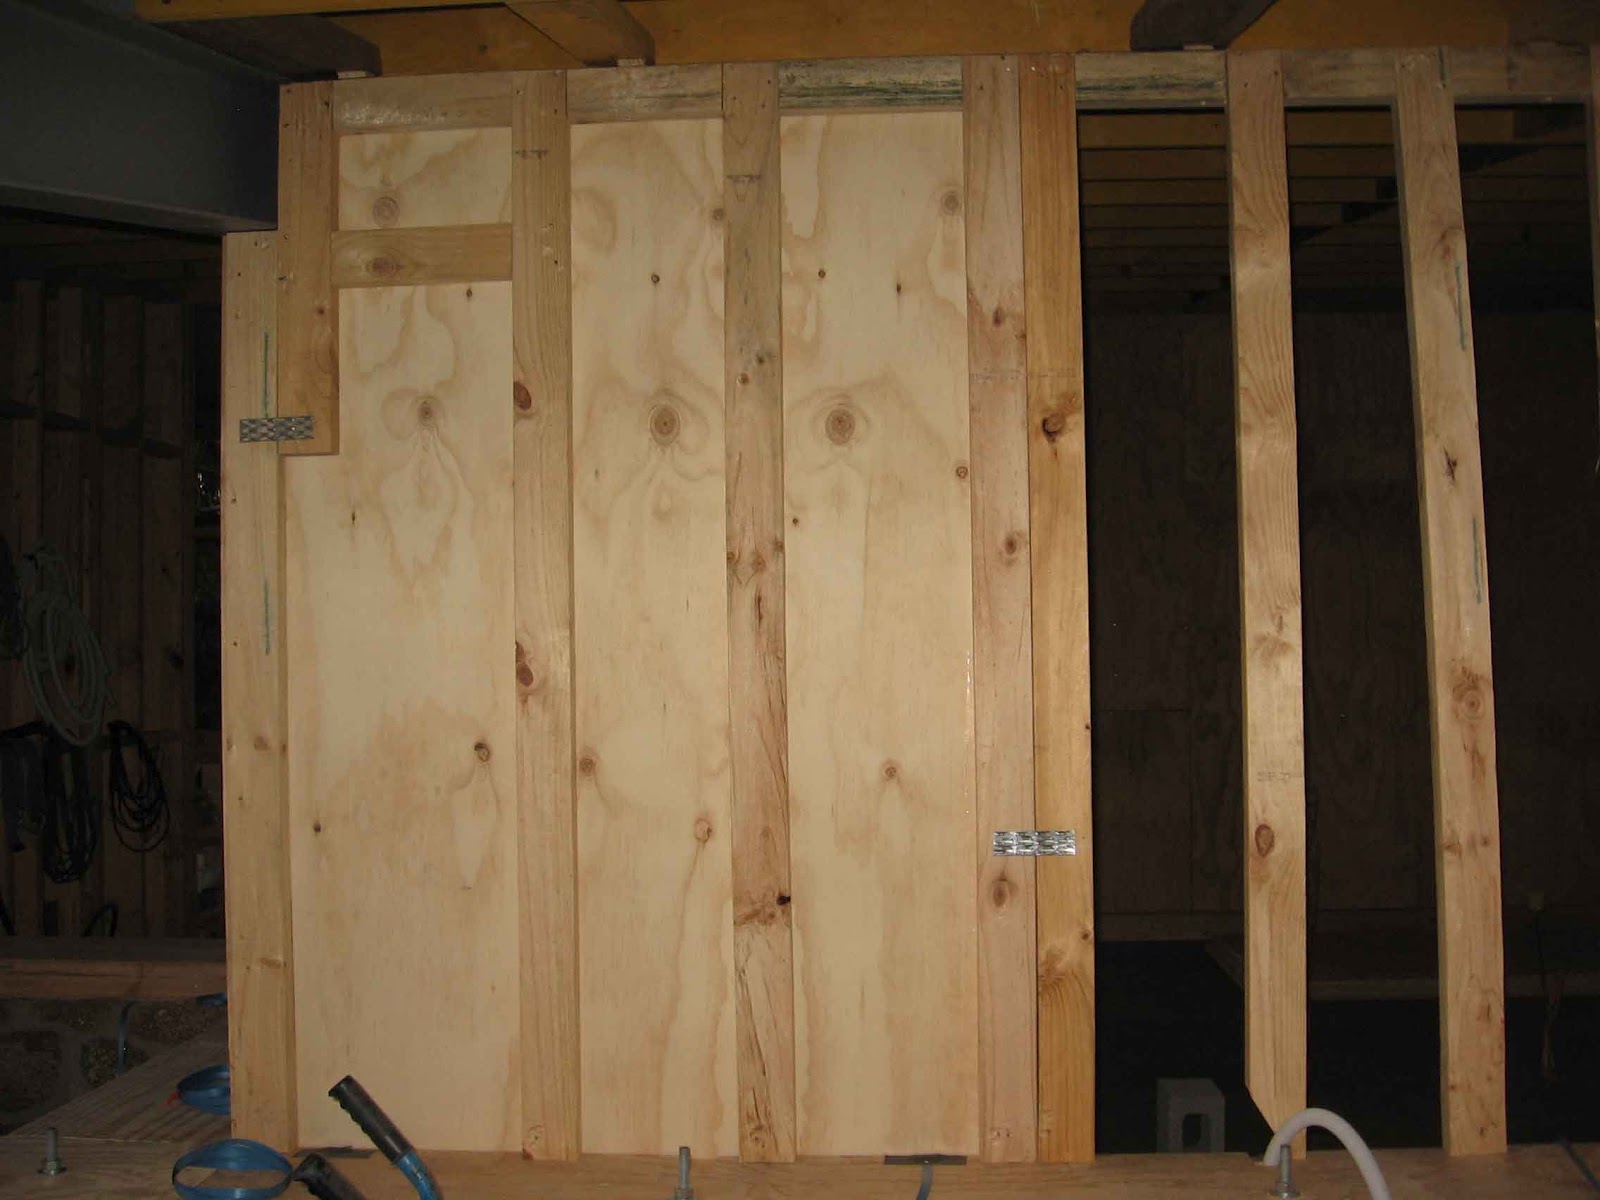
A couple more 3x4x2 laminated studs for the main dining window and we were ready for the framing inspection. Which, as posted earlier, went just swimmingly, thanks.
 |
| can't you just hear it sing??? |
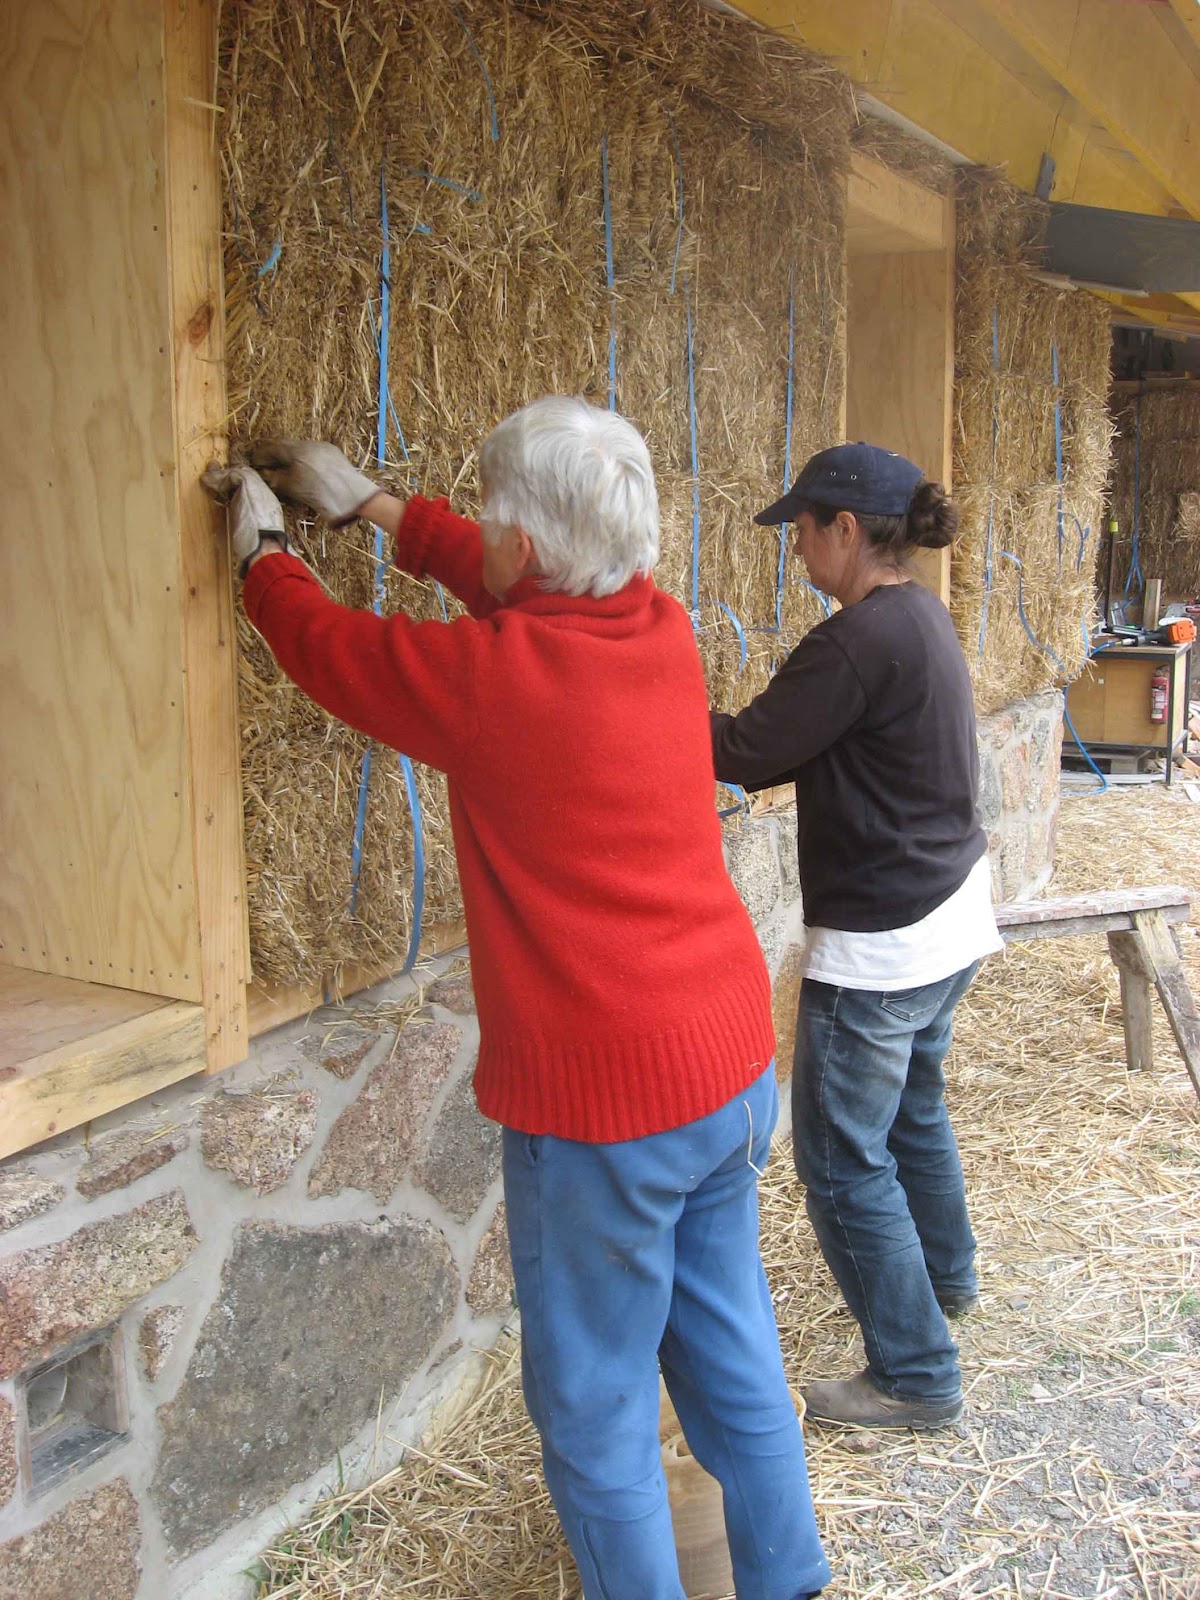
With all that info now dumped from my brain, I can now start to think about writing up the baling workshop. Soon, soon, soon. :) In the meantime, here are a few more random pics from the period...
 |
| oh, it's so pretty |
 |
| Rats ate the timber louvres. Armour plating will get em. I call it the "Food Dalek" |
 |
| it's all about the light |
 |
| that stud on the right looks wonky...because it is! |
 |
| details |
 |
| details, |
 |
| ...details. |
 |
| light ... and... anti-light. |
.


_lite.jpg)
_lite.jpg)
_lite.jpg)
_lite.jpg)
_lite.jpg)
_lite.jpg)
_lite.jpg)
_lite.jpg)
_lite.jpg)
_lite.jpg)
_lite.jpg)

_lite.jpg)




_lite.jpg)